The last few weeks have seen all things creative going on here. I've tried to make as many Christmas presents as possible, and have been sewing, crocheting, and most recently, making soap!
Soap making can be as easy or as complicated as you want it to be, and I prefer to keep things simple by using a 'Melt and Pour' soap base, which I buy, along with all my other ingredients, from the very excellent and competitively priced Just a Soap.
To make a basic soap you will need:
Soap base
Moulds
Colour
Essential Oils or soap fragrance
Moisturising additives, such as oils or butters (optional)
Soap moulds can be purchased, or you can use a variety of household items, such as silicone cake moulds, tupperware containers, or so on. I have built up quite a collection over the years and have some that make individual bars, like these...

...or some where you pour a whole trayful and then cut into bars...

NOTE: I must apologise for the poor quality of my photos today, but my kitchen worktop is fairly dark, and my kitchen is quite literally the centre of the house and pretty much 'landlocked' so I have twinkling LED lights on, making a complete hash of my photographs!
Anyway, back to the soap making!
You can buy all sorts of soap bases, but I buy one that is SLS Free, as SLS can be an irritant to so many people (including me!) The soap bases come in 1kg or 11kg tubs.

You can find loads of helpful information on the Just a Soap website, but here is what I do:
Firstly, I cut as much soap as I need into small pieces with a sharp knife. I'm using 1.5kg today.
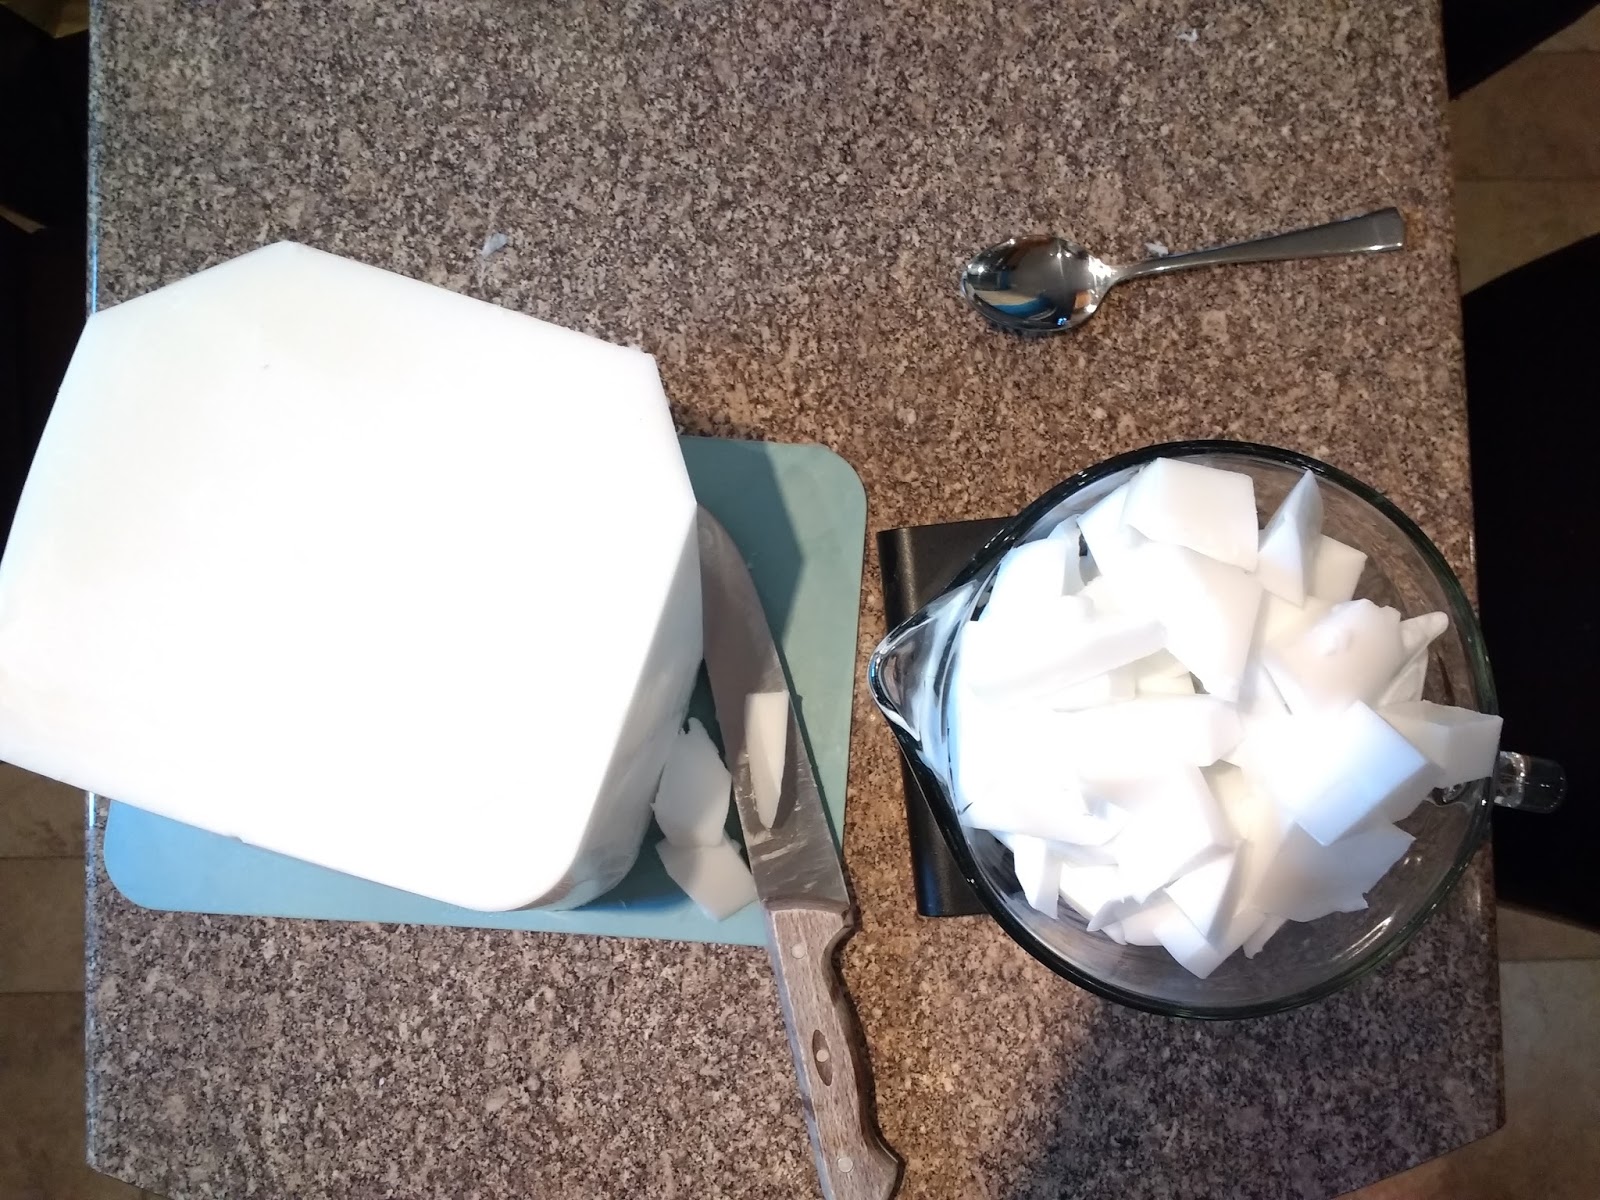
I place them into a large Pyrex measuring jug and then use a microwave to melt the soap, stopping every couple of minutes to give it a good stir. Be careful not to boil or overheat it, as it will continue to melt any last pieces after you have taken it out. If you don't have a microwave you can do this over a large saucepan of hot water on the hob.
When the soap has melted, you can start adding things! I like to make super moisturising soaps so I add Shea Butter, Cocoa Butter and Mango butter. For my 1.5kg of soap I added 20g of each. I also added 1 tablespoon of apricot kernel oil. Give it all a good stir until it has melted and blended.

Then, add some colouring. I am making lavender soap so added some violet colouring.

Keep stirring until it's fully mixed in and is the colour you would like.

Before you add any essential oils or soap fragrance, make sure the soap isn't too hot, otherwise it will affect the scent. However, don't leave it so long that its starts to set! The best thing to do is stir, stir and stir some more.
I then added 6 teaspoons of pure lavender essential oil.

Now you need to work quite quickly. Pour the soap into your moulds. To get rid of the bubbles on the top you can give it a quick spritz of isopropanol alcohol (again, available from Just a Soap). This step isn't essential, but if you are going to make soap quite frequently it is worth considering, as your finished soap goes from this...

...to this...

Leave to set for several hours and then turn out. The large slabs need to be cut into bars, of course.
Your finished soap will look and smell delicious!


I made a batch of lemon soap too :)
Once you have made your bars of soap, wrap them in cellophane or plastic to stop them 'sweating'.
Making soap is lots of fun, and, by doing a bit of research, you can add ingredients that may help to soothe various skin conditions. Wrap them up nicely and you have some wonderful, thoughtful gifts that will be greatly appreciated by anyone you give them too.
As the saying goes, "it's good, clean fun"!
Donna
No comments:
Post a Comment
Please do leave a comment. I will answer every one!