Blog Archive

Making Soap


The last few weeks have seen all things creative going on here.  I've tried to make as many Christmas presents as possible, and have been sewing, crocheting, and most recently, making soap!

Soap making can be as easy or as complicated as you want it to be, and I prefer to keep things simple by using a 'Melt and Pour' soap base, which I buy, along with all my other ingredients, from the very excellent and competitively priced Just a Soap.

To make a basic soap you will need:

Soap base
Moulds
Colour
Essential Oils or soap fragrance
Moisturising additives, such as oils or butters (optional)

Soap moulds can be purchased, or you can use a variety of household items, such as silicone cake moulds, tupperware containers, or so on.  I have built up quite a collection over the years and have some that make individual bars, like these...


...or some where you pour a whole trayful and then cut into bars...


NOTE:  I must apologise for the poor quality of my photos today, but my kitchen worktop is fairly dark, and my kitchen is quite literally the centre of the house and pretty much 'landlocked' so I have twinkling LED lights on, making a complete hash of my photographs!

Anyway, back to the soap making!

You can buy all sorts of soap bases, but I buy one that is SLS Free, as SLS can be an irritant to so many people (including me!)  The soap bases come in 1kg or 11kg tubs.


You can find loads of helpful information on the Just a Soap website, but here is what I do:

Firstly, I cut as much soap as I need into small pieces with a sharp knife.  I'm using 1.5kg today.
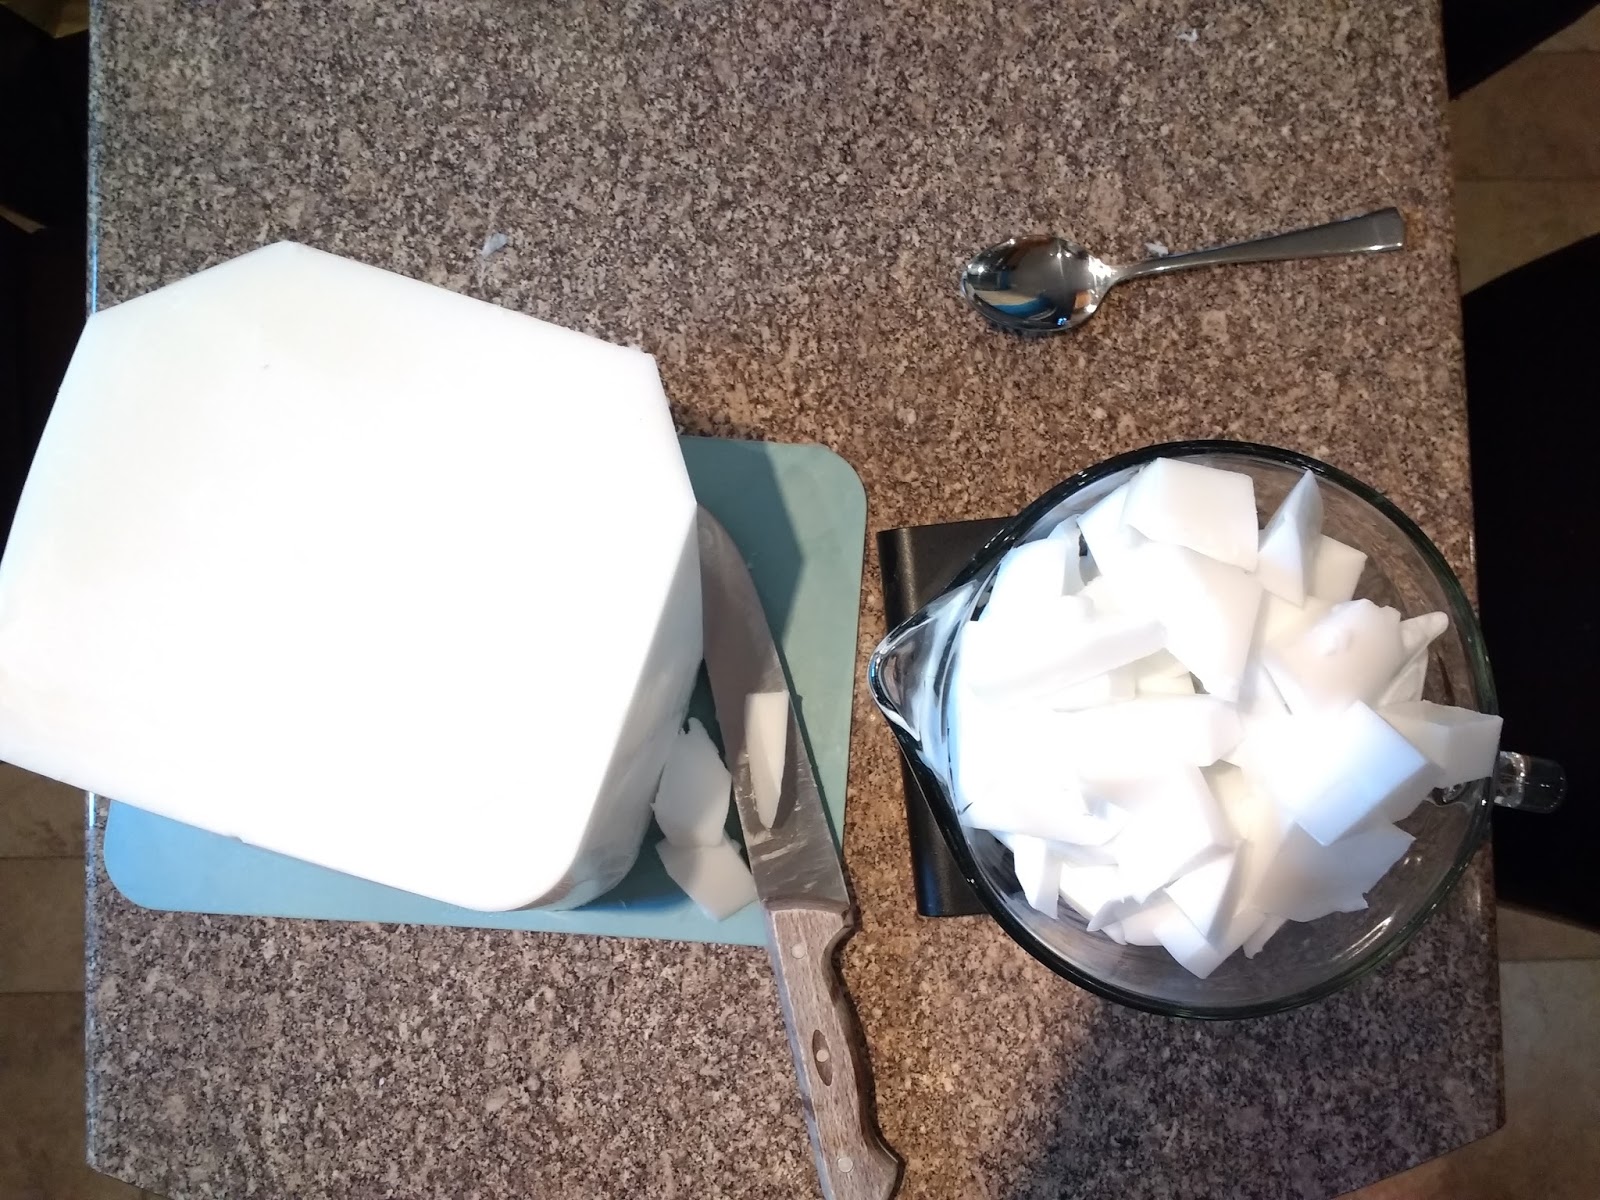

I place them into a large Pyrex measuring jug and then use a microwave to melt the soap, stopping every couple of minutes to give it a good stir.  Be careful not to boil or overheat it, as it will continue to melt any last pieces after you have taken it out.  If you don't have a microwave you can do this over a large saucepan of hot water on the hob.

When the soap has melted, you can start adding things!  I like to make super moisturising soaps so I add Shea Butter, Cocoa Butter and Mango butter.  For my 1.5kg of soap I added 20g of each.  I also added 1 tablespoon of apricot kernel oil.  Give it all a good stir until it has melted and blended.


Then, add some colouring.  I am making lavender soap so added some violet colouring.


Keep stirring until it's fully mixed in and is the colour you would like.


Before you add any essential oils or soap fragrance, make sure the soap isn't too hot, otherwise it will affect the scent.  However, don't leave it so long that its starts to set!  The best thing to do is stir, stir and stir some more.

I then added 6 teaspoons of pure lavender essential oil.


Now you need to work quite quickly.  Pour the soap into your moulds. To get rid of the bubbles on the top you can give it a quick spritz of isopropanol alcohol (again, available from Just a Soap).  This step isn't essential, but if you are going to make soap quite frequently it is worth considering, as your finished soap goes from this...


...to this...


It's like magic!!

Leave to set for several hours and then turn out.  The large slabs need to be cut into bars, of course. 

Your finished soap will look and smell delicious!


I made a batch of lemon soap too :)  

Once you have made your bars of soap, wrap them in cellophane or plastic to stop them 'sweating'.

Making soap is lots of fun, and, by doing a bit of research, you can add ingredients that may help to soothe various skin conditions.  Wrap them up nicely and you have some wonderful, thoughtful gifts that will be greatly appreciated by anyone you give them too.

As the saying goes, "it's good, clean fun"!

Donna

It's finished!! The Blooming Big Blanket

Yay!!!  After 14 months (but not continuously), the Blooming Big Blanket is now finished and on the bed!

I've talked about the blanket before, but just as a recap, the seed for the idea was sown at Yarndale 2016, when Lucy, of Attic24, let me use her blanket planning pegs to come up with the colour palette to match our Laura Ashley wallpaper and fabric.


We selected Grape, Pale Rose, Grey and Silver from the Stylecraft Special DK range.  My lovely son ordered me a huge bagful of these colours for my birthday, from the fabulous online shop, Wool Warehouse.

Our bed is 5 feet wide, and I wanted a good foot overhang on each side, so the blanket is just over 7 feet, or 420 stitches wide!  

I used Lucy's Neat Ripple Pattern, and decided on a 12 row stripe of Grape, 6 rows of Pale Rose, 2 rows of Grey and 1 row of Silver.

Throughout last winter I ripped and rippled, and rippled some more.  I then needed to take a break from it, so made a couple of cardigans for myself, and a few other things.  I also found, as the weather got warmer, it was not as easy to work on, as by this point it was soooo warm and heavy!  As the weather cooled down I found a second wind and really went for it!  

I then had to decide on the edging, and chose to do Lucy's edging from her interlocking ripple blanket. I loved doing this edging, as it seemed to tie all the ripples together and I felt the end was in touching distance.

The last thread was finally snipped and it was hauled upstairs and draped lovingly over the bed.  It's been very difficult to photograph, as it's so huge, and the light levels have been so low, but today it was cold and sunny so I tried my best to get some decent pictures.  

During the day we keep it folded up at the end of the bed, mainly so the cat doesn't lie on it and snag it with her claws:


But at night we pull it up the bed and snuggle down for a Blissful Night's Sleep under its yarny loveliness...


I am so very pleased with it, and it was worth every stitch.  Speaking of every stitch, I worked out a few statistics!

  • Excluding the edging, there are 180 rows, giving a total number of ripple stitches of 75,600!


  • It used approximately 30 balls of Special DK, which equates to roughly 6 miles of yarn!


Thank you, Lucy, for your patterns, and to everyone at Copper's Creative for your encouragement.  This was certainly the biggest ever project I have undertaken, but I'm so glad I did. :)

Donna x 


Setting in a sleeve smoothly

One of my friends, who reads my blog, asked me about setting in sleeves on a shirt, or a dress, where the sleeve needs to lie flat, and not gathered at the shoulder seam.  It can seem quite daunting when you see how much bigger the sleeve is compared to the armhole on the body - just how do I get rid of all that extra fabric?  I thought it might be worth writing down my way of doing it.

Firstly, make sure to transfer all the pattern markings to the body and sleeve of your garment.  You will be glad you did this!


Next, set your machine to the longest stitch and make three (not two, as most commercial patterns say!) lines of ease stitching from notch to notch.  I do two inside the seam line and one outside, at about 3/4 of an inch.  That way they don't get caught in the actual seam stitching.  Leave long tails on these rows of stitches, and don't back tack.

Then, pull up the stitches as much as you can without making gathers on the sleeve head.  As you do this, ease the fabric along the stitches with your thumbnail or fingernail, and  you will be surprised at how much you can pull the threads up.  You are aiming to end up with a rounded sleeve head, not a gathered up or bunched one.


With the sleeve right side out, insert it into the body of the shirt, right sides together.  Make sure you put the correct sleeve in each armhole!  This is easy to check by making sure the notches match (remember the double notch is the back of the garment).

Start by matching and pinning the underarm sleeve.  When you do this, make sure you don't twist the sleeve seam, by following it down to the cuff or hem and checking you pin it at the armhole so it is lying the same way.  This will make pressing it neatly later on a whole lot easier.

Then, pin the top of the sleeve to the shoulder seam.  Incidentally, instead of a dot, I cut a notch on the sleeve head, as I find it easier to locate.  Next, pin the notches, and dots, if your pattern has them.

Now what you need to do is distribute and smooth all the fullness until the two pieces fit together perfectly.  You may need to pull up the threads a tiny bit more, or even let the fabric out a little bit.  Take your time doing this, as it is so important to make sure you have no gathers or tucks under the seam line.  Remember, you are adding fullness and roundness to the sleeve head, but no gathers!

Once you are satisfied, pin the two pieces together securely.  Don't skimp on the pins - a pin every every inch to inch and a half is ideal.  Because of the curved shape of the sleeve, it is all too easy for the two pieces to pull away from each other as you sew.


Convert your machine to free arm if you can but do not push the free arm into the sleeve, otherwise you will distort it.  Instead, ease the armhole over the very edge of the free arm, so that is is mostly on top of the machine, using your hands to coax it around the machine as you sew.  Take your time sewing, easing the fabric around and making sure the two layers are smooth, and not bunching up, as you go.

When you have finished, inspect the stitching line carefully. Make sure you haven't caught the fabric up where you shouldn't have, and ensure you have no gathers. If you do, carefully unpick a few stitches, smooth them out with your nail or a pin, and sew again.

Next you need to finish the seam.  I use an overlocker, but you can zigzag stitch if you haven't got an overlocker.  If you zigzag, carefully trim the seam allowance a little first.  Obviously you won't need to do this if you use an overlocker, but you will need to be super, super careful not to cut the sleeve head with the knife as you sew.  It is all too easy to do so (don't ask me how I know this...)  Take your time, sew slowly, using  your fingers to 'feel' the fabric as you go, making sure it is lying flat, and looking carefully as you go.

Then, the pressing!!  Press the seam allowance first, towards the sleeve, and then press the body, right up to the seam line.  The sleeve head should look curved and rounded, but not puckered.

You've done it!


The more you do, the easier it becomes, but trust me, as someone who regularly makes shirts, it will never be quick!  Take your time and you will be pleased with your sleeves.

Here is the finished shirt I made.  You may recognise the pattern as my favourite Vogue pattern, but can you spot the 'deliberate' mistake???  


Yes, the buttonholes are on the wrong side for a female shirt!  This is the first time I have ever made this mistake and I was sooooo cross and upset with myself!  However, I have been reassured by my daughter (the eventual wearer of the shirt) that she really couldn't care less which side they are on, plus my friends at Cooper's Creative assure me that this whole different side for men and women thing isn't as important now, and that some manufacturers use the same side for both.  That made me feel a whole lot better :)

I hope you will find some of this useful.  There is something quite satisfying about sleeve setting in - and I hope if you have never tried a smooth sleeve insert that you will be inspired to give it a go.

Donna x