Having a look around the garden after we returned from holidays, it was easy to see that the mint had enjoyed the copious amounts of sunshine and rain (more rain) that the garden had enjoyed this past week.
Time to make another batch of mint sauce then!
We go through so much mint sauce in our household, as whilst I only put it on new potatoes and peas (being vegetarian I don't eat any lamb to put it on) POH puts it on just about everything. Although you can busy some pretty decent commercial sauce, nothing beats the taste of the homemade variety when, in the depths of a bleak, dark winter, it provides a sunny taste of the freshness of the garden, and the promise of things to come.
Plus, it is so easy-peasy to make, it is well worth making some (and the house smells gorgeous for hours afterwards too!)
If you have some homegrown mint, or a neighbour or friend is growing it and is willing to donate some, here's how to get started:
Firstly, this recipe is for about 3oz of prepared mint leaves, which doesn't sound a lot, but on the stalks is almost a carrier bag full! If you don't have that much mint you can adjust the quantities accordingly.
Ingredients:
3oz prepared mint leaves (see note above)
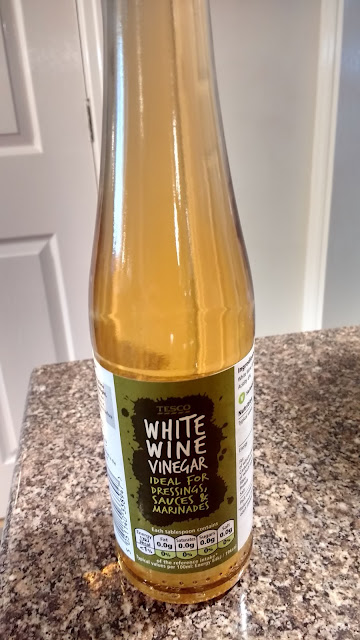
1/2 pint of white wine vinegar. (You can also use cider vinegar if you prefer that.)
2 1/2 oz of white sugar. (You can always add more sugar when you serve it, but I don't like overly sweet mint sauce.)
Method:
Strip the leaves from the stalks. Wash thoroughly, and then dry it really well. If you have a salad spinner this is ideal. If not, clean tea towels work well.
Now you need to chop the mint. If you are feeling determined you can you use a large knife and a chopping board. Me? Food processor every time! Just be careful not to over process it, as it very quickly turns to mush, and part of the beauty of home made mint sauce is that it has texture.
Weigh your mint, so you know how much vinegar you will need.
You will also need 2 or 3 clean and sterilised jars. To sterilise, wash jars and lids thoroughly and place the jars, still wet, in a warm oven (about 120 Celsius) for about 15 minutes, until they are completely dry.
To sterilise lids, place them in a jug of boiling water for a few minutes and leave until ready to seal the jars.
Place the white wine vinegar and sugar in a pan and heat gently to disolve sugar and then bring to a boil and turn off the heat. NOTE:
Now you need to work fairly quickly, but protect your hands as everything is going to be hot!
Place the hot jars on a wooden board and spoon in the chopped mint. You are aiming for a full jar, lightly packing the mint down. Leave half a inch head space.
Then, pour the hot vinegar into the jars. Using a table or butter knife, run the blade around the inside of the jar to release any air bubbles.
Wipe the top of the jars with a clean cloth to remove any stickiness, then carefully remove the lids from the water, dry them, and seal the jars.
As the jars cool you should hear a reassuring 'pop', which means the jar is sealed and can be stored in the cupboard. The centre of the lid should also pop inwards and not move when you press it.
If any of the jars haven't sealed, pop them in the fridge and use them up first.
To serve, spoon some into a small dish and add a little extra white wine or cider vinegar. Delicious!
You don't have to put little fabric hats on your jars, but they do look pretty when you open the cupboard door!
How did yours turn out? Post a comment below!
Donna x


Looks delicious! Jane x
ReplyDeleteThank you Jane! Fresh mint sauce really is like eating summer-in-a-jar :) xx
ReplyDelete